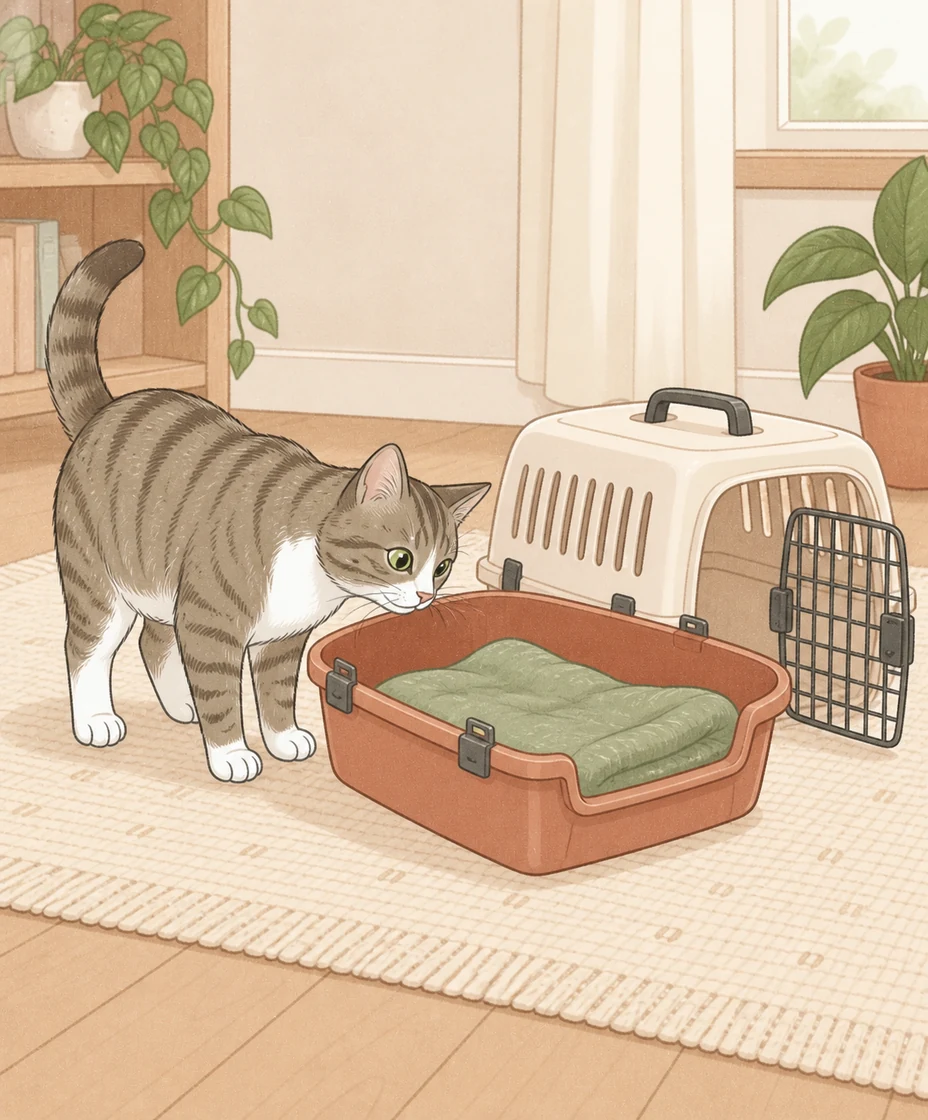
For carrier training, look for a sturdy carrier with a front entrance, a top that can be removed as designed, secure fastenings and enough room for your cat to rest and reposition comfortably. A removable top lets you introduce an open base before an enclosed space. Check the actual model and your cat’s needs before buying; no design guarantees a relaxed journey.
A top door and a removable top do different jobs
A small hatch in the roof gives access from above. A removable upper shell opens the whole base. That distinction is easy to miss in a product photo, but it changes the starting point you can offer during practice.
Cats Protection specifically distinguishes top-opening access from a front-entry carrier whose entire upper section comes off. Its guidance favors the latter arrangement for gradual carrier training. Pounce’s Carrier Confidence curriculum also begins with an open base, then introduces the roof, door and movement separately.
| Arrangement | What it lets you offer | Question for the seller or manual |
|---|---|---|
| Front entrance and removable upper shell | An open base, followed later by an enclosed space | Can the upper shell be removed and reattached using the intended fastenings? |
| Top hatch and front entrance | Two access points while the shell stays assembled | Does the entire top also detach, or only the hatch? |
| Front entrance only | Voluntary entry into the assembled carrier | Can the door stay securely out of the way during supervised home practice? |
Check the usable space, then the structure
Look at internal dimensions as well as the stated weight limit. Cats Protection emphasizes comfortable resting and repositioning. Its current advice favors sturdy handheld carriers over backpacks, citing space and stability concerns. A carrier’s appearance in a lifestyle photo does not establish its fit for your cat.
Cat Friendly Homes’ carrier checklist highlights a firm bottom, ventilation, secure clips, a handle and an appropriate size. Check the floor with the intended bedding in place: a thick cushion changes the remaining headroom. Follow the manufacturer’s assembly and transport instructions for the exact model.
Do an empty-carrier rehearsal
- Identify every intended opening and fastening. Check whether the removable top described in the listing actually applies to this size and version.
- Remove and replace the upper shell only if the instructions allow it. Reassemble the empty carrier and check each fastening individually.
- Open and close each door. Confirm that it latches correctly without improvising a repair or relying on a loose catch.
- Place the intended bedding inside and check the usable space, access and ventilation. Choose bedding that will stay reasonably steady.
- Rehearse carrying the empty, assembled carrier with its base supported. Check that you can manage the equipment and the route through your home.
Before involving your cat, try this practical inspection. It is our buying and setup aid, not a crash test or a product certification. If you are shopping online, use the questions to request a clear demonstration or the manufacturer’s manual.
Write down any point where you need to stop and figure out a fastening. That is a useful rehearsal finding: resolve it while the carrier is empty. Missing clips, cracks, damaged mesh or a door that does not latch properly need attention before transport.
Do you need to replace the one you own?
Start by separating a damaged or unsuitable carrier from an unfamiliar one. An intact carrier that fits your cat may simply need a gradual introduction. Buying another model is not, by itself, a training plan.
If your current carrier cannot safely come apart, do not force it apart to match a lesson. Begin with comfortable approaches to the assembled carrier, or discuss a different starting setup with your veterinary team. For a cat with mobility needs or a history of severe travel distress, ask that team about suitable equipment and appointment planning.
Choose the equipment, then teach familiarity
Once the equipment is ready, use the separate carrier-training guide for the learning sequence. The accompanying printable helps record the easiest comfortable step. Equipment checks and observations belong in different parts of your notes: “all clips secure” describes the carrier; “approached the base and left calmly” describes your cat’s experience.
We make Pounce, which includes Carrier Confidence lessons. We have not tested or ranked carrier brands, and the illustration shows generic equipment. This guide uses established welfare resources checked September 15, 2026, plus our curriculum and an original inspection routine. It is not a veterinary endorsement or a promise that training will resolve distress. Do not delay needed care to complete practice.
A little guidance goes a long way.
Follow illustrated lessons, take the next small step, and keep track of your cat’s little wins in Pounce.
Explore Pounce for iOSSources & how this guide was written
Pounce curriculum: Carrier Confidence, especially open base before roof and door. Carrier selection and the empty-equipment rehearsal are editorial guidance, not physical product testing. External sources checked September 15, 2026. We publish Pounce; no affiliate commission or carrier-brand endorsement.
- Cats Protection: Choosing and using a cat carrier
- Cat Friendly Homes: Choosing a cat carrier infographic (2020)
Sources checked September 16, 2026. This article is educational and has not been individually reviewed by a veterinarian. Our editorial policy explains our approach.